
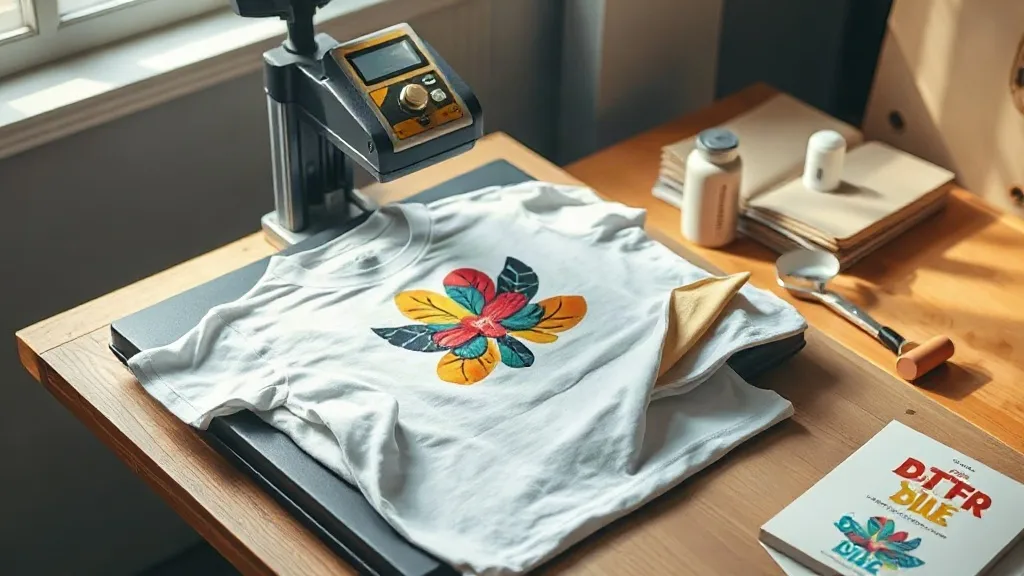
Most people who try dtf transfers for the first time run into the same wall, and it rarely has anything to do with the artwork. The print comes off the shaker looking sharp, the colors are vivid, and then the shirt goes through its first wash and a corner lifts. That gap between what a transfer looks like on the table and what it looks like after ten cycles is where the real learning happens. This guide is about closing that gap.
Direct-to-film has grown fast because it solves a problem screen printing and vinyl never solved well: short runs on difficult fabrics with full-color art and no setup cost. But the process rewards people who understand what is actually happening inside the press, not just people who buy the right paper. What follows is a working approach built around fabric behavior, pressing discipline, and the small habits that separate a shop with a 2% failure rate from one with a 15% failure rate.
What Actually Happens When You Press a DTF Transfer
A DTF sheet is a sandwich. There is a printed ink layer, and on top of it a thermoplastic adhesive powder that was applied while the ink was still wet and then cured. When you press, the powder melts and flows into the fibers of the garment. The ink layer itself does not bond to the fabric. The adhesive does. That distinction matters, because almost every adhesion failure traces back to the adhesive not being able to do its job.
Why the Powder Matters More Than the Print
Shops tend to obsess over print quality and treat powdering as an afterthought. In practice, powder coverage is the single biggest predictor of durability. Uneven powdering leaves bare ink patches that will never bond, and those patches are exactly where peeling starts. If you are producing your own film, hold the sheet up to a light source at an angle and look for dull, matte areas in the adhesive layer. Those are gaps. If you are buying finished dtf sheets, this is a reasonable quality check to run on a new supplier before committing to a bulk order.
Over-powdering is the opposite problem and it is sneakier. Excess powder that has not fused into the ink gets trapped in the transfer and shows up as a chalky halo around the edges of the design, especially on dark garments. It also stiffens the hand feel. A gentle shake and a light brush before curing removes most of it, and it takes ten seconds.
Matching Transfers to Fabric Without Guesswork
DTF is often described as working on everything, which is true in the sense that it will adhere to almost any fiber. It is not true in the sense that it will perform equally well. The fiber content changes how the adhesive penetrates, how the print flexes, and how the garment ages around the design.
- 100% cotton: The friendliest surface. Fibers are absorbent and slightly rough at a microscopic level, which gives the melted adhesive plenty to grip. Expect strong wash durability and a soft hand.
- Cotton/poly blends: Reliable and common. Slight variation between suppliers is normal, so test each new blank you bring in rather than assuming the last blend behaves like the next.
- 100% polyester: Workable but requires lower press temperatures. Polyester is heat sensitive and can glaze or shrink under cotton settings. Drop the temperature and extend the dwell time instead of pressing hotter.
- Nylon and treated synthetics: The hardest category. Water-repellent finishes and dye migration are real obstacles. A pre-press to drive off moisture helps, and low-temperature settings protect the fabric.
- Canvas, denim and heavy twill: Excellent candidates because the open weave gives adhesive somewhere to go. These are also where DTF outperforms vinyl by a wide margin on detail.
One habit worth building: keep a fabric log. Note the blank brand, fiber content, press temperature, pressure and dwell time, then revisit the sample after five washes. Within a month you will have a reference sheet that removes most of the trial and error from new orders.
Press Settings That Hold Up in the Wash
The three variables are temperature, pressure and time, and they interact. Raising one usually means lowering another. Rather than chasing a single universal recipe, learn the direction each variable moves the result.
Temperature
Most DTF adhesive powders activate in the 150 to 165 degree Celsius range, with cotton typically sitting at the higher end and polyester at the lower. Too cool and the powder never fully flows, which produces a transfer that looks fine and fails in the wash. Too hot and you risk scorching the garment, causing dye migration on dark polyester, or embrittling the ink film so it cracks instead of stretching.
Pressure
Medium pressure is the usual starting point. What matters is evenness. A press with a worn platen or a sagging silicone pad will produce one edge that bonds and one that does not, and the failure will show up months later in a customer complaint rather than on your table. Check your press with a pressure test sheet periodically. It is a boring task that saves real money.
Time and Peel
Dwell times in the 10 to 15 second range cover most situations. Peel temperature is the variable people skip. Cold peel, where you let the sheet cool completely before removing the carrier film, generally gives a smoother, more matte finish and better adhesion on stretchy fabrics. Hot peel is faster and suits high-volume production but can leave a slightly glossier surface. Whichever you choose, be consistent, because mixing methods across an order creates visible variation between garments that were supposed to match.
The Prep Steps People Skip
Before the transfer ever touches the platen, two things need to happen. First, the garment needs to be dry. Cotton holds ambient moisture, and that moisture turns to steam under the press, pushing the adhesive away from the fibers at the exact moment it should be bonding. A three to five second pre-press solves this and takes almost no time.
Second, the surface needs to be free of sizing, fabric softener residue and lint. Lint is the quiet killer here. A single fiber trapped under the transfer creates a small void, and voids become peel points. A quick pass with a lint roller on the print area is worth the five seconds it costs.
Placement accuracy is the other overlooked factor. A transfer that is half an inch off center on a hundred shirts is a hundred shirts that look amateurish, regardless of how good the print quality is. A laser alignment line or a simple placement template removes the guesswork and speeds up the whole run.
Wash Durability: What to Expect and How to Extend It
A properly applied DTF transfer on cotton should survive dozens of home wash cycles without lifting, cracking or fading significantly. The print will soften over time, which most customers actually prefer. If a transfer fails within the first three washes, the cause is almost always application, not the transfer itself.
Care instructions are part of your product, not an afterthought. Tell customers to wash inside out, in cold water, and to avoid fabric softener on the printed area, since softener coats fibers and can work under the edges of the film over time. Tumble drying on low is fine. High heat is what shortens the life of any heat-applied graphic, and DTF is no exception. A small care card in the package costs pennies and prevents a lot of avoidable complaints.
Finding a Reliable Supplier
Searching for dtf transfers near me usually returns a mix of local print shops and online suppliers, and the tradeoff is rarely as simple as proximity. Local pickup means faster turnaround on rush jobs and the ability to inspect a sample in person. Online ordering usually wins on price per sheet and design variety, particularly for gang sheets where you pack multiple designs onto one film to cut waste.
Whichever route you take, judge a supplier on three things: consistency between orders, color accuracy against your proof, and how they handle a bad batch. Ask for a sample before a bulk order, press it yourself, wash it, and then decide. A supplier who welcomes that test is usually a supplier worth keeping.
Frequently Asked Questions
Can DTF transfers be applied to dark colored garments?
Yes, and this is one of the strongest arguments for the process. The white ink base layer sits under the color, so the design stays vivid on black, navy and other dark fabrics without the color shifting or disappearing into the background.
How long should I press a DTF transfer?
Most applications land between 10 and 15 seconds at medium pressure. Start in the middle of that range on a test garment, then adjust based on the fabric and how the carrier film releases. Always note what you changed so the result is repeatable.
Why is my transfer peeling at the corners after washing?
Corner peeling almost always points to uneven pressure or insufficient heat at the edges of the design. Check your platen for flatness, make sure the whole transfer is inside the heated area, and confirm the garment was dry and lint free before pressing.
Does DTF work on polyester athletic wear?
It does, with adjustments. Polyester needs a lower press temperature to avoid glazing and dye migration, so extend the dwell time rather than raising the heat. Test on an offcut first, since performance varies between fabric weights and finishes.
Do I need a special printer to make DTF transfers?
Producing your own film requires a printer with white ink capability, DTF-specific film and a powder shaker with a curing oven. Many smaller shops find it more practical to order finished transfers and put the capital into a reliable heat press instead.