
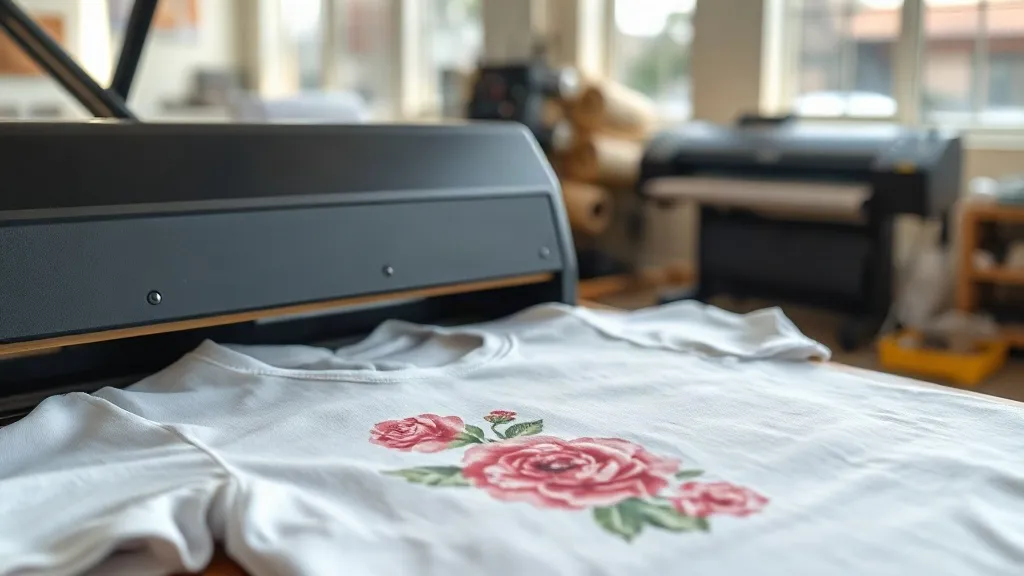
Imagine pressing a button and watching a full-color design bond permanently to a cotton t-shirt, a nylon jacket, or even a canvas tote. That's the promise of dtf printing, a technology that has quietly become the go-to method for small shops and DIY enthusiasts who want professional results without industrial machinery. Unlike vinyl or screen printing, DTF doesn't limit you by fabric color or material. It's a game-changer for anyone tired of weeding tiny letters or mixing messy inks. In this guide, I'll walk you through everything I've learned from countless hours of trial and error, so you can skip the frustration and start creating wearable art that lasts.
What Exactly Are DTF Transfers?
At its core, DTF stands for Direct to Film. The process involves printing your design onto a special PET film using a modified inkjet printer loaded with pigment-based inks. After printing, a fine layer of hot-melt adhesive powder is applied to the wet ink, then cured. The result is a flexible, ready-to-press transfer. When you apply heat and pressure, the adhesive melts and bonds the ink to the fabric. The film peels away, leaving a vibrant, stretchable image. If you've ever used heat transfer vinyl (HTV), think of DTF as its more forgiving cousin: no cutting, no weeding, and full-color gradients are possible. For a deeper dive into the mechanics, dtf transfers offer a versatile solution for both beginners and pros.
Why DTF Beats Traditional Methods
I remember my first attempt at screen printing: messy emulsion, clogged mesh, and a design that faded after three washes. DTF eliminates most of those headaches. Here's why it stands out:
- No color limitations: Print photorealistic images with millions of colors in one pass.
- Works on almost any fabric: Cotton, polyester, blends, leather, even nylon. No pre-treatment needed for most materials.
- Durability: When applied correctly, DTF prints survive dozens of washes without cracking or peeling.
- Low startup cost: A decent DTF printer and a heat press are the main investments; no need for screens or vinyl cutters.
- Speed: Once your design is ready, you can produce a transfer in minutes, making it ideal for small batches or personalized orders.
How to Choose the Right DTF Supplies
Not all films and powders are created equal. Early on, I bought cheap film that curled at the edges and powder that left a gritty texture. Here's what to look for:
Film
Opt for double-sided matte PET film. It should be coated to accept ink without smudging. Thickness matters: too thin and it wrinkles during printing; too thick and it won't conform to fabric textures. I prefer 75-micron film for general use.
Ink
You need DTF-specific pigment inks, usually CMYK plus white. The white ink is crucial because it acts as a base for vibrant colors on dark garments. Cheap inks clog printheads and fade quickly. Invest in a reputable brand.
Adhesive Powder
This is the magic ingredient. Look for a fine, TPU-based powder. Particle size affects the final feel: finer powder (80-100 microns) gives a softer hand. Apply it evenly using a shaker or a manual scoop, then shake off the excess.
Step-by-Step: Creating Your First DTF Transfer
Let's walk through the process. You'll need a DTF printer (or a service that prints films for you), a heat press, and your fabric.
- Prepare your design: Use design software to create your artwork. Remember to mirror the image horizontally before printing. DTF prints are transferred face-down, so mirroring ensures the final orientation is correct.
- Print: Load the film into your printer. Print in high quality with the white layer underneath the colors. If your printer doesn't have a white channel, you'll need a dedicated DTF printer.
- Apply powder: While the ink is still wet, sprinkle the adhesive powder generously over the print. Tilt the film and tap off the excess. You want a uniform coating.
- Cure: Place the film in a curing oven or under a heat gun at around 160°C (320°F) for 2-3 minutes, or until the powder melts and becomes glossy. Don't overdo it; over-curing makes the transfer brittle.
- Press: Set your heat press to 160°C (320°F) with medium pressure. Pre-press the garment for 5 seconds to remove moisture. Place the transfer face-down on the fabric, cover with a Teflon sheet, and press for 15-20 seconds.
- Peel: Wait for the transfer to cool completely (cold peel) or peel while warm (hot peel), depending on your film's instructions. Cold peel generally gives a smoother finish.
After peeling, you'll see a bright, detailed image that's soft to the touch. If any edges lift, re-press for a few more seconds.
Common Pitfalls and How to Avoid Them
Even with the best supplies, things can go wrong. Here are fixes for the most frequent issues:
- Dull colors: Under-cured powder or insufficient pressure. Increase curing time or pressure.
- Cracking after washing: Too much powder or over-curing. Use less powder and cure just until glossy.
- Transfer won't stick: Fabric may have a water-repellent coating. Pre-press longer or use a fabric primer.
- Film jams in printer: Film may be too thin or the printer's rollers need cleaning. Try a thicker film.
- Stiff feel: Excess powder or thick ink layers. Use finer powder and reduce ink density in your design.
I once pressed a transfer onto a waterproof jacket without pre-pressing, and it peeled off in a day. Lesson learned: always prep your fabric.
DTF vs. Other Printing Methods: A Quick Comparison
How does DTF stack up against screen printing, DTG, and vinyl? Here's a snapshot:
- Screen printing: Cheaper for large orders, but setup costs are high and color matching is tricky. DTF wins for small batches and complex designs.
- DTG (Direct to Garment): Great for cotton, but requires pre-treatment and struggles on dark colors. DTF works on any fabric and color.
- HTV (Heat Transfer Vinyl): Good for simple one-color designs, but weeding is tedious and layered colors are bulky. DTF handles full-color gradients with ease.
For a home-based business or a hobbyist, DTF offers the best balance of quality, versatility, and low barrier to entry.
Frequently Asked Questions
Can I use DTF transfers on 100% polyester?
Yes, DTF works beautifully on polyester. In fact, it's one of the few methods that doesn't require special inks or pre-treatment for synthetic fabrics. Just be mindful of the heat settings: polyester can scorch at high temperatures, so lower your press to around 150°C (300°F) and test on a scrap piece first.
How long do DTF prints last?
With proper application and care, DTF prints can last 50+ washes without significant fading or cracking. Always wash garments inside out in cold water and avoid bleach. Tumble dry on low or hang dry. The key is the initial press: if the transfer is fully bonded, it will outlast the garment itself.
Do I need a special printer for DTF?
You can convert a standard inkjet printer (like an Epson EcoTank) to DTF by using DTF inks and films. However, for consistent results, a dedicated DTF printer with a white ink channel is recommended. Alternatively, you can order pre-printed transfers from a service and just use a heat press.
What's the difference between hot peel and cold peel DTF film?
Hot peel film allows you to remove the carrier sheet immediately after pressing while the transfer is still hot. Cold peel requires you to wait until the transfer cools completely. Cold peel typically gives a smoother, more matte finish, while hot peel is faster for production. Always follow the film manufacturer's instructions.
Can I layer DTF transfers?
Yes, you can layer multiple DTF transfers to create complex designs. Press the first transfer, peel, then press the second on top. Use a Teflon sheet between layers to protect the print. Just keep in mind that layering adds thickness, so use it sparingly for a soft hand.
Final Thoughts
DTF transfers have democratized custom apparel printing. Whether you're a small business owner, a crafty parent, or a designer experimenting with new mediums, the technique offers a low-risk way to produce high-quality, durable prints. Start with a small batch, learn from your mistakes, and soon you'll be churning out vibrant designs on everything from t-shirts to tote bags. The best part? No more weeding vinyl at midnight. Happy printing!